Author Archives: Jenny Zito

How To Make a Miniature Book

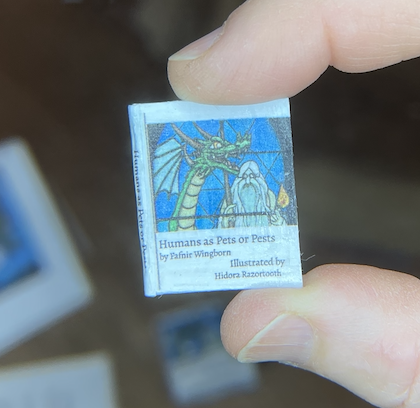
In this blog I show how I created a tiny book for my youngest child to put on the bookshelf of their miniature dragons’ home.
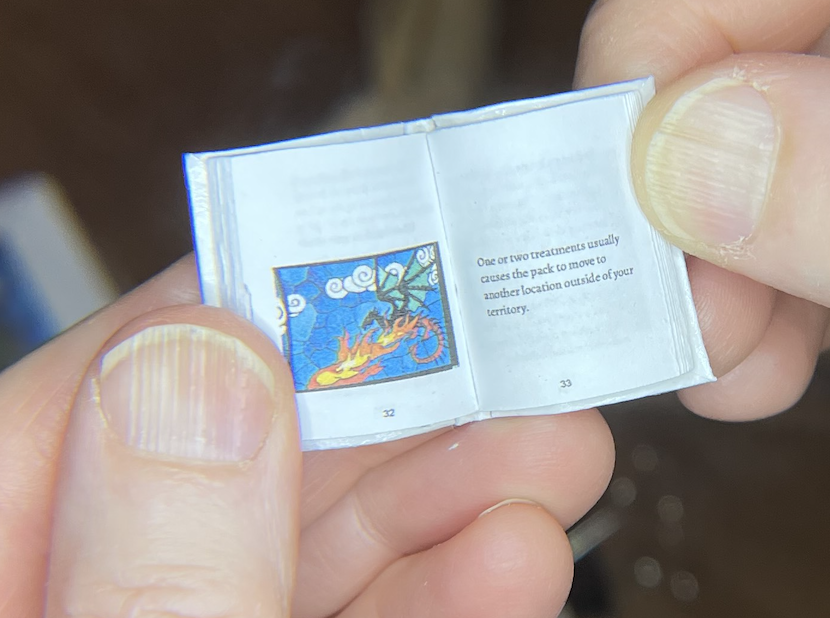
This version is 1″ tall.


You can download the google slide doc with a copy of my book and print it or modify it to make your own book.
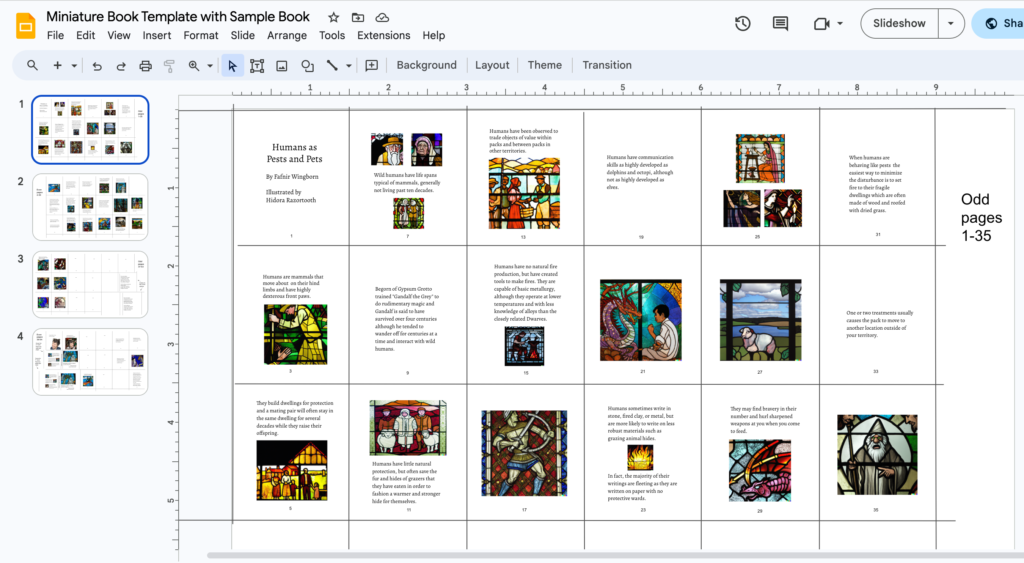
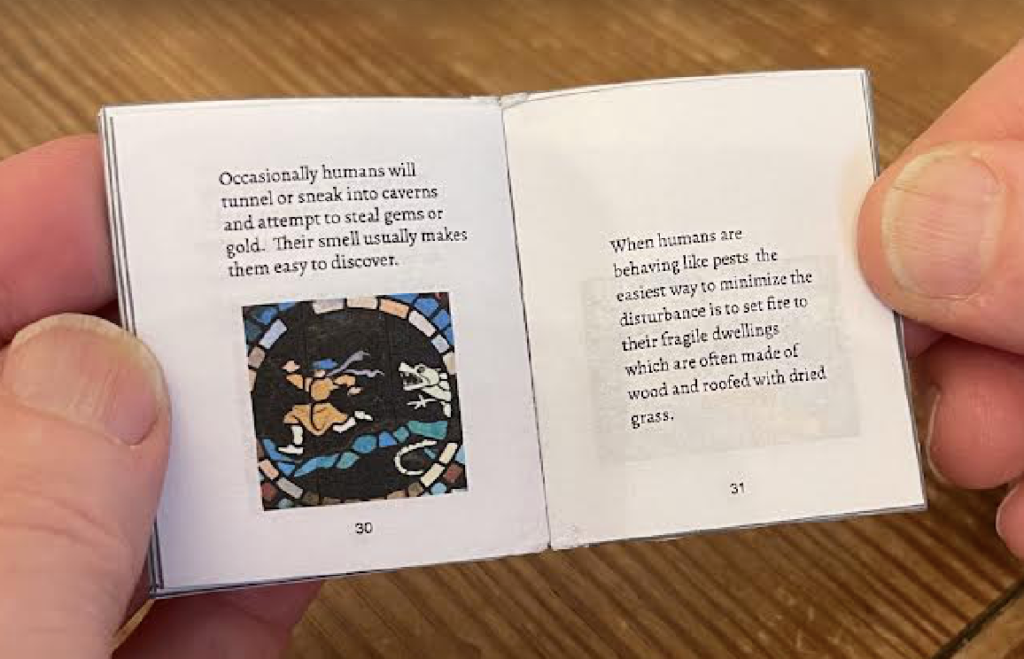

You can also use the same template to print a version of the book that is 2″ tall.

In my book I worked with the generative art tool DALL-E to create illustrations that fit well with my text. There are some tips for producing good illustrations below.
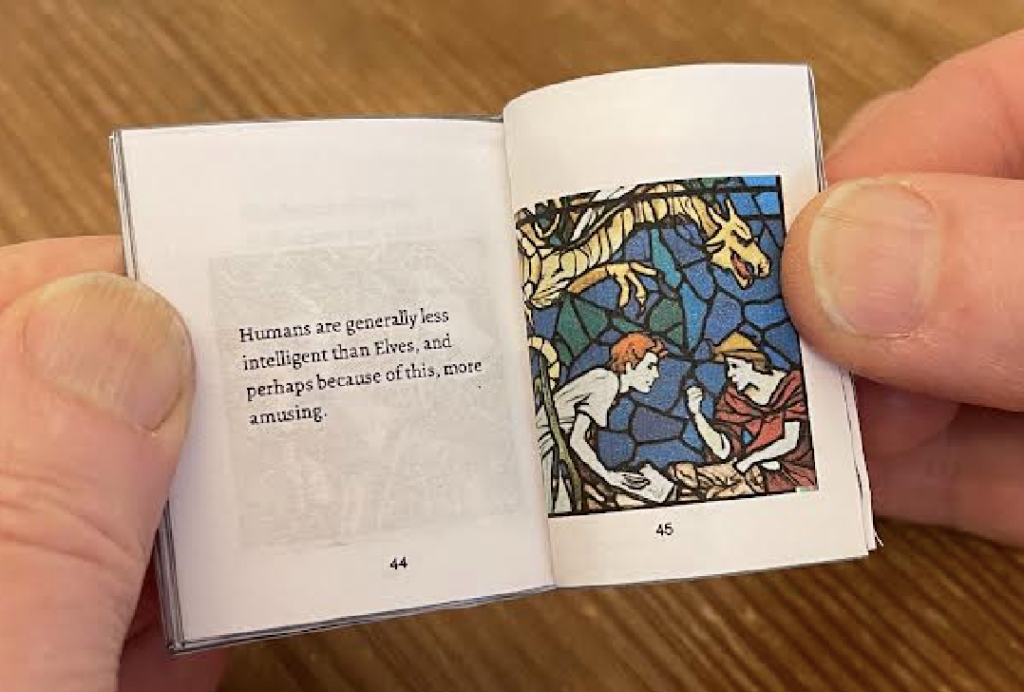

The cover can be printed on regular paper and glazed or printed on heavier paper.
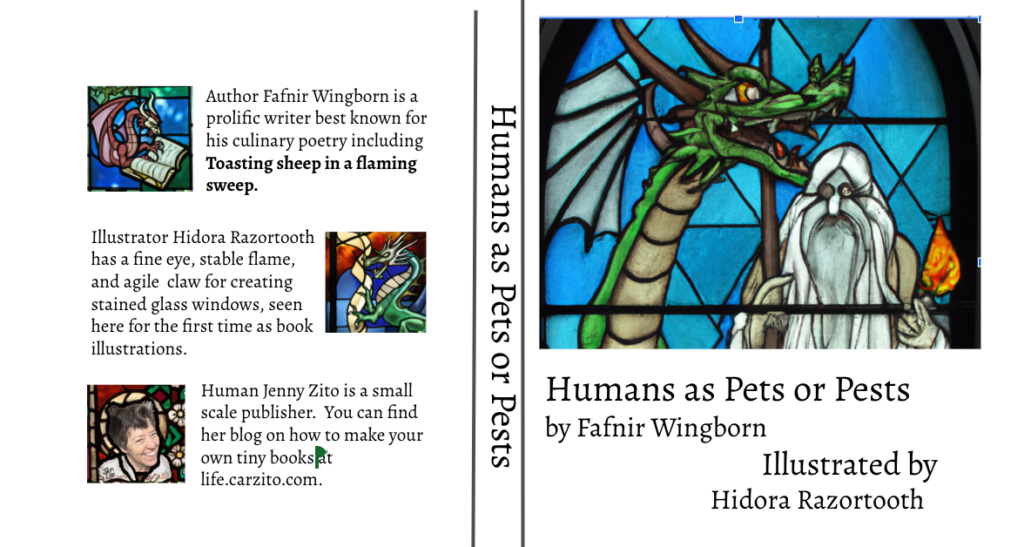

I used Affinity Designer to modify a DALL-E image for my picture for the back cover.


Getting a Template of a Miniature Book (containing example)

  • You can view the google slide document that I used to create the tiny book feature in the blog below by visiting this link Miniature Book Template in Google Slides with sample book
  • Feel free to copy the template document and either print a copy of my book or modify the images and text in your copy to make your own book.

Printing your book (Using Safari browser and Preview tool).

In the example below we use the Safari browser to view the miniature book template in google slides. When we press the print icon this launches the Preview tool for printing.

If you use a different browser or printer tool you may need to adjust the margins so that the two slides line up exactly with the front and back of each tiny page lined up.

Instructions for Printing 2″ size miniature book:

  • In Safari open the Google Slide Doc with the sample book or your own modified book.
  • On the google doc tool bar click on the little printer icon to launch the Preview tool. (There is a delay while this launches.)
  • On the right there is a side bar you can change the order of the slides if needed (or you can drag them around in the original google slide doc.
    For a 2″ book use the “standard ordering” which is:
    – the first slide will have “odd pages 1-35”,
    – the second slide will have “even pages 2-36”,
    – the third slide will have “odd pages 37-63” and the insides of the cover, and
    – the forth slide will have “even pages 38-64” and the outside of the cover.
  • By going to “File” tab on the Preview top bar you can select “Print”.

In the Print Menu:

  • Select a color printer if you have one.
    • Click “Two-sided”
  • Use the “landscape” orientation.
  • Use the Preview pull down to select “Layout”, then set Pages per Sheet: “1” and select Two-Sided: “Short-Edge binding”.

Instructions for Printing 1″ size miniature book:

  • In Safari open the Google Slide Doc with the sample book or your own modified book.
  • On the google doc tool bar click on the little printer icon to launch the Preview tool. (There is a delay while this launches.)
  • On the right side bar you will change the order of the slides from the “standard ordering” by dragging slide 3 to be before slide 2.
    When you are done the
    – the first slide will have “odd pages 1-35”,
    – the second slide will have “odd pages 37-63” and the insides of the cover,
    – the third slide will have “even pages 2-36”, and
    – the forth slide will have “even pages 38-64” and the outside of the cover.
  • By going to “File” on the top bar you can select “Print”.

In the Print Menu:

  • Select a color printer if you have one.
    • Click “Two-sided”
  • Use the “landscape” orientation.
  • Use the Preview pull down to select “Layout”, then set Pages per Sheet: “2” and select Two-Sided: “Long-Edge binding”.

  • you are printing two slides per page of paper to get a 1″ size book then switch slides 2 and 3 before printing, change the layout to have two sheets per page, and use “long edge binding” as a layout option.

Jenny’s birthday activity May 2021 – Canoe/Kayak Adventure with Danny, Riley, Dylan, Bill, and Jenny

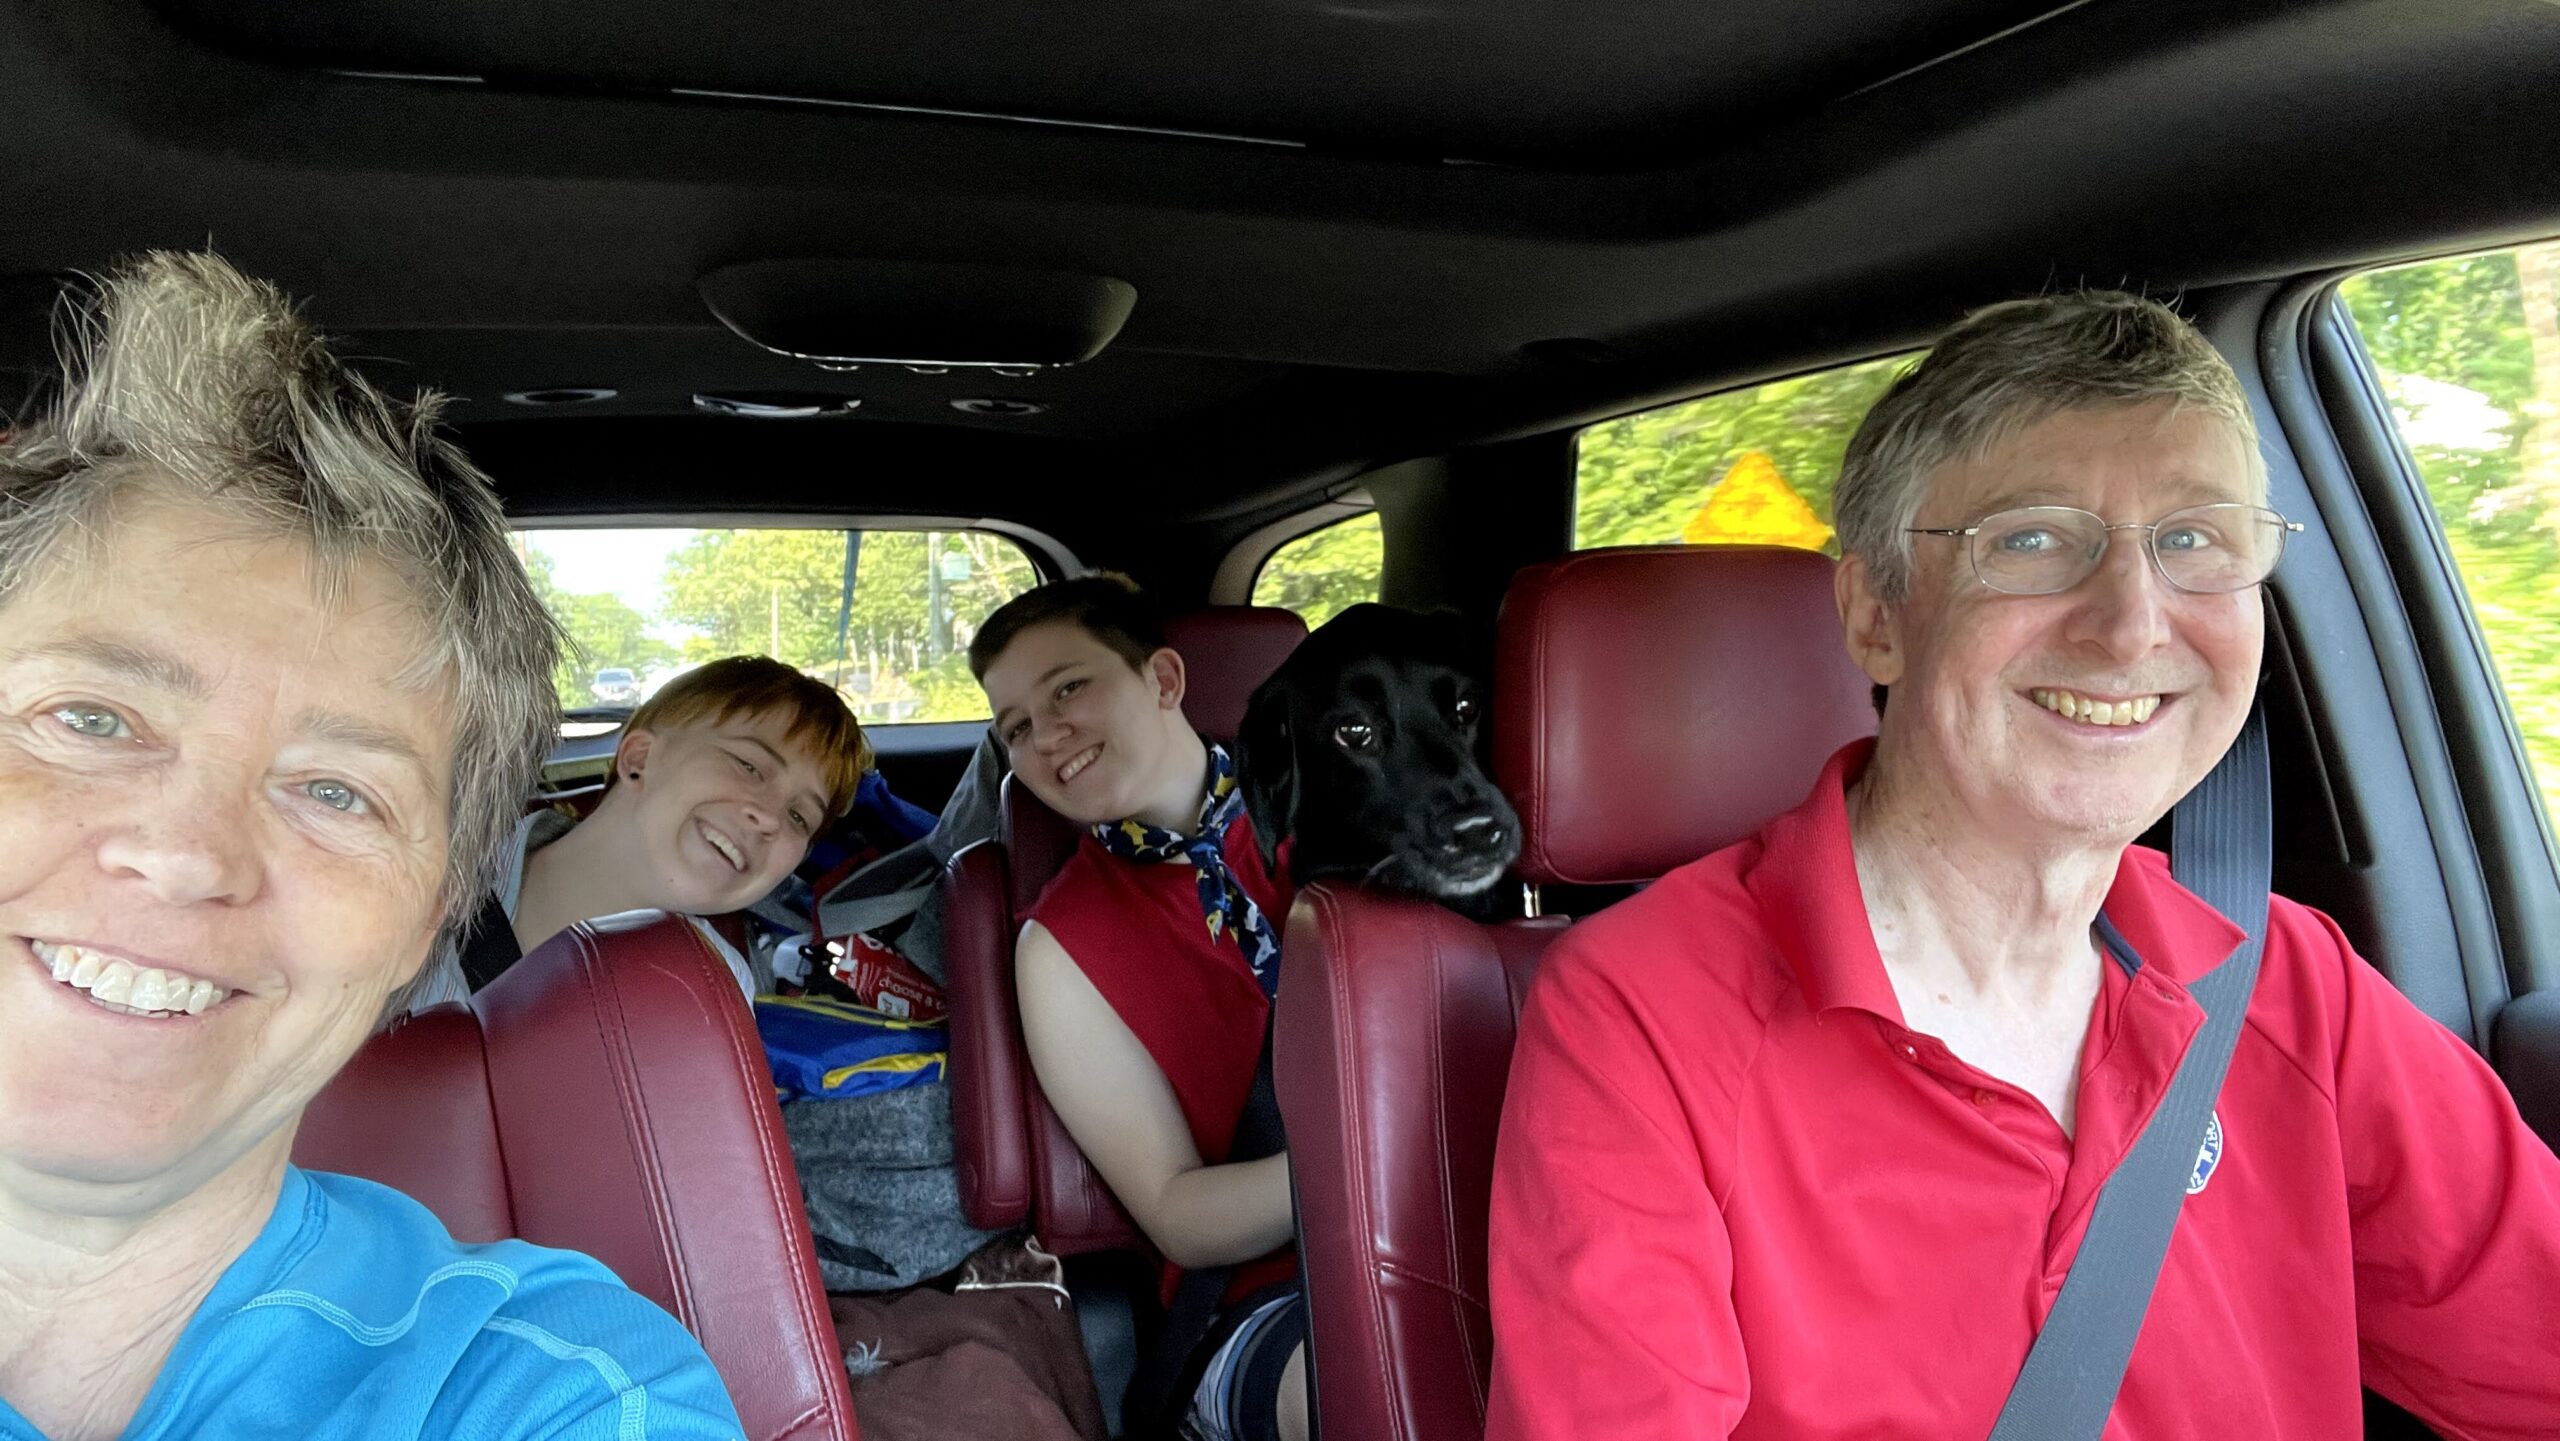
Jenny requested a family Canoe/Kayak adventure for her birthday morning. We managed to fit three rhino racks on our Heffalump (Jenny’s White Dodge Durango) loaded with Jenny’s bright blue second-hand 16 foot Carolina Perception kayak and Bill’s new 12 foot Old Town Vapor kayak and our new 14 foot Red Mad River Canoe on top. Danny stuck really close to Dylan during the preparation phase because after all the even walks they have taken him for during the last week, Danny was sure Dylan was his best shot of getting to go along. Bill found a great public loading spot on the Green Haven Wharf. We played fetch in the water with Danny did get him well soaked and cooled down before setting off with him in the canoe with the Rascals. We carried a cooler with sandwiches and other lunch items. We rowed against the wind “up the creek” to start. In the swampy areas near the top of the creek and down by some of the larger docks we saw osprey. We saw a large juvenile bald eagle circling above the shore trees and could hear the cicadas humming in the woods. Later that day Jax, Riley’s cat, managed to find the first of the 17 year cicadas that made it to our yard.

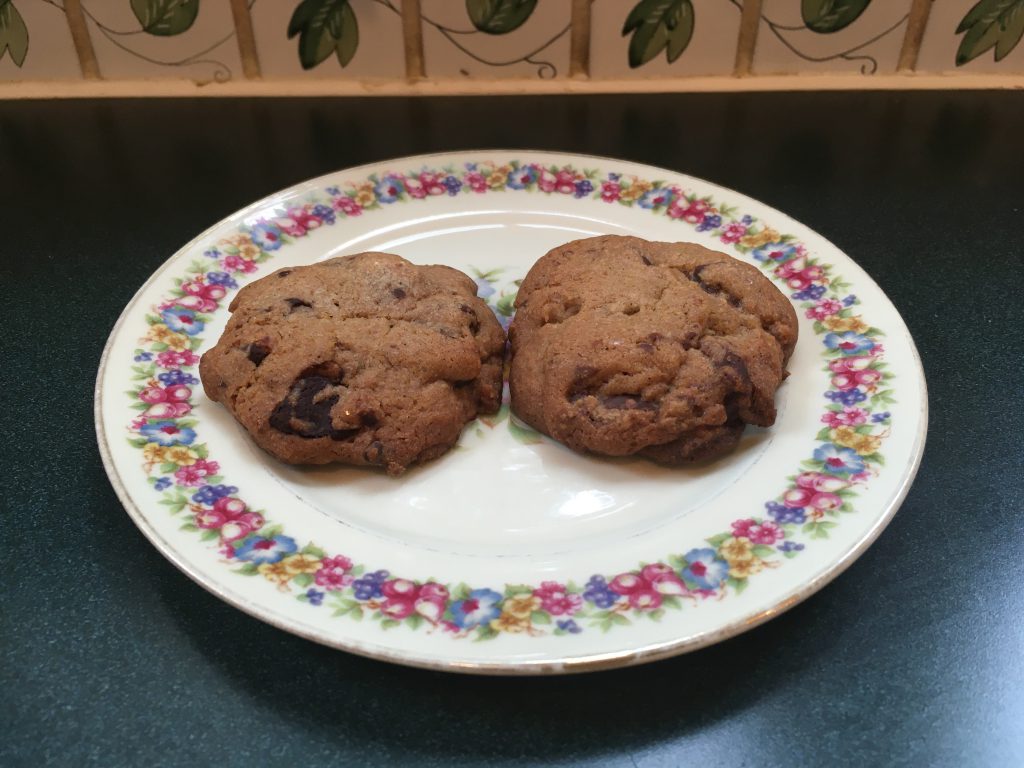
Chocolate Chip Cookies with Browned Butter

Here are a few tips:

  • Cook only one tray of cookies at a time (in the middle of the oven) since the temperature is different at top of oven than bottom and cookies on top shelf do not spread out as much.  
  • It is slightly better to cook on parchment paper than directly on the tray, because you can immediately transfer the entire set off of the hot tray instead of getting impatient and ruining the cookies with a spatular.
  • If you have a scale it is more accurate than use the cup measurements.
  • One of the main goals of this recipe is to get the butter browned, you will need to have a light colored pan to see this happening. We also found that the CarZito stove needs to be at 6.5/10 in order to brown the butter.
  • Make sure to use dark brown sugar instead of light brown sugar for flavor.
  • In our CarZito home taste tests, people liked chopped semisweet Lindt chocolate better than Giradelli semisweet chocolate chips.
  • We like to add an extra tsp of butter and sugar and use the higher amount of eggs so that we have the option to taste the butter/sugar/egg mixture several times.
  • Making the dough days in advance and refrigerating it improves the taste.  It also works well freeze the dough and thaw it the day before cooking.
Ingredients:
  • 1.75 cups (8.75 ounces) unbleached all-purpose flour
  • 1/2 tsp baking soda
  • 14 Tbsp (1.75 sticks) unsalted butter  (if you use salted butter reduce the salt by 1/3 tsp).
  • 1/2 cups (3.5 ounces) granulated sugar
  • 3/4 cups (5.25 ounces) packed dark brown sugar 
  • 1 tsp table salt
  • 2 tsp vanilla extract
  • 1 large egg
  • 1 large egg yolk
  • 1.25 cups semisweet chocolate chips or chunks
  • 3/4 cups chopped pecans or walnuts – toasted (optional)

Directions: 

  1. Adjust oven rack to middle of oven and preheat to 375 degrees.
  2. Line 2 large (18″ by 12″ trays) with parchment paper, or three smaller trays.
  3. In medium bowl: whisk flour and baking soda together, and set aside.
  4. Browning Butter: In large skillet or pan that is not dark bottomed, heat 10 Tbsp of butter over medium-high heat until melted, about 2 minutes. Continue cooking (1-6 minutes) while swirling the pan (continuously) until the butter is dark golden brown and has a nutty aroma.  (On our stove, need 6.5 setting to turn brown) Remove the skillet from the heat and transfer the butter to a large heatproof bowl.  Stir remaining 4 Tbsp butter into hot butter until completely melted.
  5. Into bowl with melted butter, add both sugars, the salt, and the vanilla and whisk until fully combined.  Add the egg and the yolk and whisk until the mixture is smooth with no sugar lumps remaining.  
  6. Repeat the following procedure 3 times on the butter mixture.  Let mixture stand for 3 minutes, then whisk 30 seconds. After this process the mixture should be thick, smooth, and shiny.
  7. Use a wooden spoon or rubber spatula to stir the flour mixture into the large bowl with the butter mixture.  Just stir until barely combined (about 1 minute.)
  8. Stir in the chocolate chips (and the nuts if you are using nuts).  Give the dough a final stir to check for unmixed portions.
  9. For large cookies divide the dough into 16 portions, each about 3 Tbsps.  Arrange 2 inches apart on parchment covered baking sheets (8 dough balls per large sheet). For medium cookies divide dough into about 24 portions, each about 2 Tbsps.
  10. Bake cookies 1 tray at a time until the cookies are golden brown and still puffy, and edges have begun to set but centers are still soft (about 10-14 minutes).  You can rotate the sheets about halfway through baking if you like.  When you are done you can cool the cookies on a wire rack, or at least take the parchment with cookies on it, off the hot baking sheet.
  11. The cookies freeze well with layers of parchment paper between layers of cookies.Dry-fry the cinnamon stick, cardamom seeds, star anise, and cloves in a skillet or a wok over low heat. Stir all the ingredients around for 2-3 minutes or until fragrant. Remove from pan.

Source:

Michelle Snider from work gave Jenny an article by Charles Kelsey “The Perfect Chocolate Chip Cookie” describing his attempts on variations on “Toll House Chocolate Chip Cookies” to see if he could get a buttery toffee flavor.  He found from interviewing chiefs and by trying things that the best two options to make the cookies have this flavor are: try refrigerating the dough for a day or two before cooking, or browning the butter and letting it sit.  He liked the browning best. We did some testing of our own at home and made a few modifications (such as the type of chips used).

Massaman Curry

This recipe gives a choice of chicken, beef, or lamb. It is a large recipe and will have lots of left-overs. We usually serve it over brown rice, but it could be treated like a stew. The smell of this is incredible, and like many stews and breads the flavors become even more complex and fragrant by the second day.

Ingredients:
  • 4 cinnamon sticks
  • 20 cardamom seeds
  • 8 star anise (or 1 tsp anise seeds)
  • 10 cloves
  • 3 Tbsp canola oil
  • 3-4 oz Massaman curry paste
  • 3 lbs of meat (chicken thigh, beef flank, or lamb rump) cut large chunks
  • 1 13.5 oz can coconut milk
  • 3 cups stock (chicken, beef, or vegetable broth)
  • 3 onions (peeled and quartered)
  • 4 Tbsp fish sauce
  • 2 Tbsp sugar
  • 6 Tbsp tamarind puree or lemon juice
  • 1 cup roasted peanuts
  • roughly a pound of potatoes cut into 1″ cubes, or 6 chopped chopped bell peppers (red, yellow, orange)

Directions: 

  1. Dry-fry the cinnamon stick, cardamom seeds, star anise, and cloves in a skillet or a wok over low heat. Stir all the ingredients around for 2-3 minutes or until fragrant. Remove from pan.
  2. Heat the oil in the wok or skillet and stir in the massaman paste, then stir over medium heat for 2 minutes or until fragrant.
  3. Add the meat and cook for 3-5 minutes until somewhat cooked.
  4. Add the coconut milk, stock, onions, fish sauce, sugar, tamarind puree or lemon juice, the dry-fried spices, and the roasted peanuts. Gently simmer over medium heat for 20 minutes.
  5. Add the potatoes or bell peppers and continue to simmer, uncovered over low heat for another 30 minutes.
  6. Serve with brown rice.

Note: This recipe was modified from a recipe in the “Fresh Thai” cookbook.

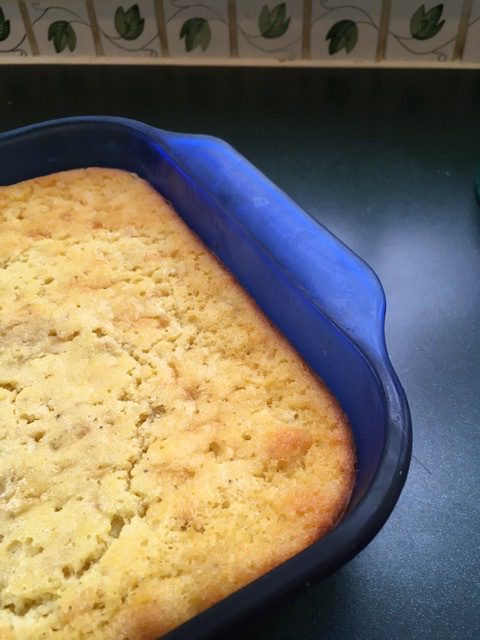
Jenny's Three Corn Casserole

We often double this recipe when cooking for the holidays.

Ingredients:
  • 1/2 cup butter (melt and let cool a little)
  • 3-4 large eggs
  • one standard can (about 15-17oz) of creamed corn
  • one standard can of corn (drained)
  • one box of cornbread mix (e.g. jiffy)
  • 6-8oz of whole milk yogurt (we like the greek stuff)
  • some pepper (about 1/8 tsp)

Directions: Heat oven to 325 degrees. Butter one or two shallow casserole dishes. Dump the cans of creamed corn and drained corn into a big bowl and beat in the eggs. Dump in the box of cornbread mix the pepper the yogurt and the melted butter and mix till blended. Pour mixture into the casserole dishes. Bake roughly half an hour until it springs a bit in the middle when touched.

Note: This recipe was modified from a recipe of James’ 3rd grade teacher, Miss Kraus, which she called “Gretchen Gottshalk’s 3-Corn Casserole” . The original recipe used sour cream mixed with a packet of ready to use onion mix instead of the yogurt.