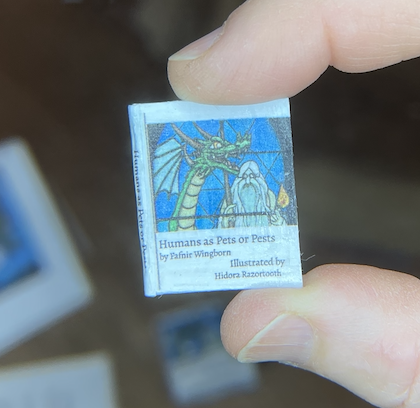
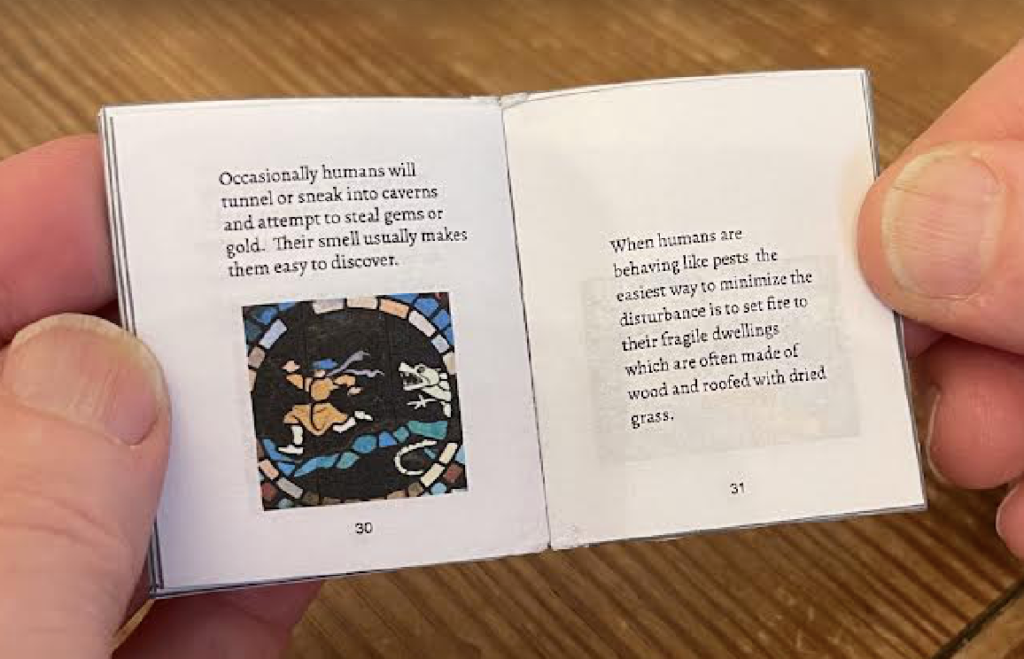
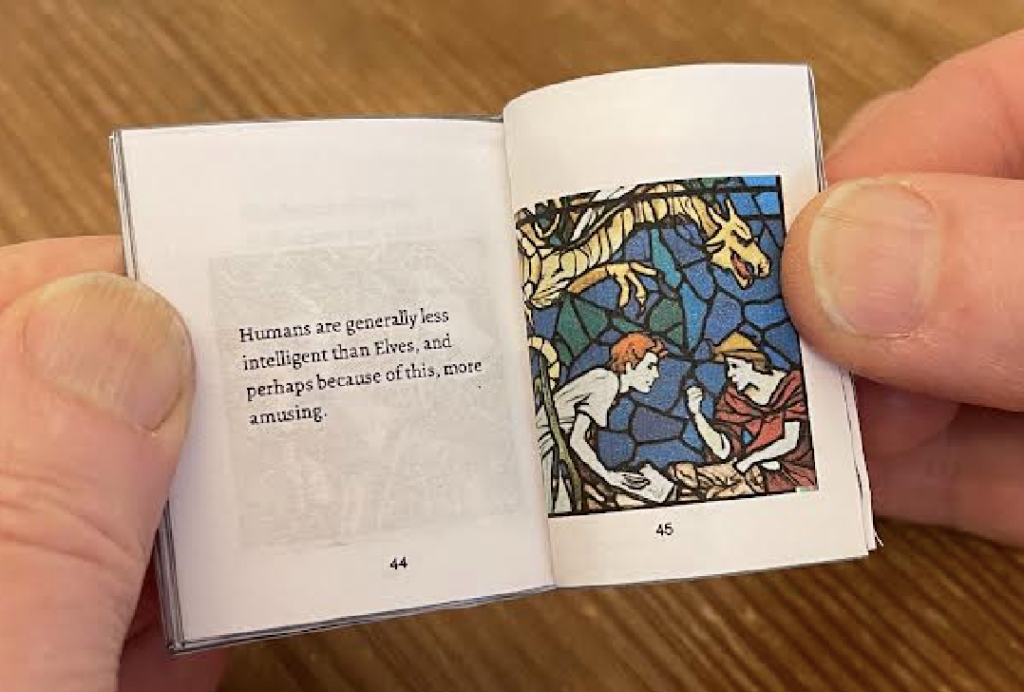
In this blog I show how I created a tiny book for my youngest child to put on the bookshelf of their miniature dragons’ home.
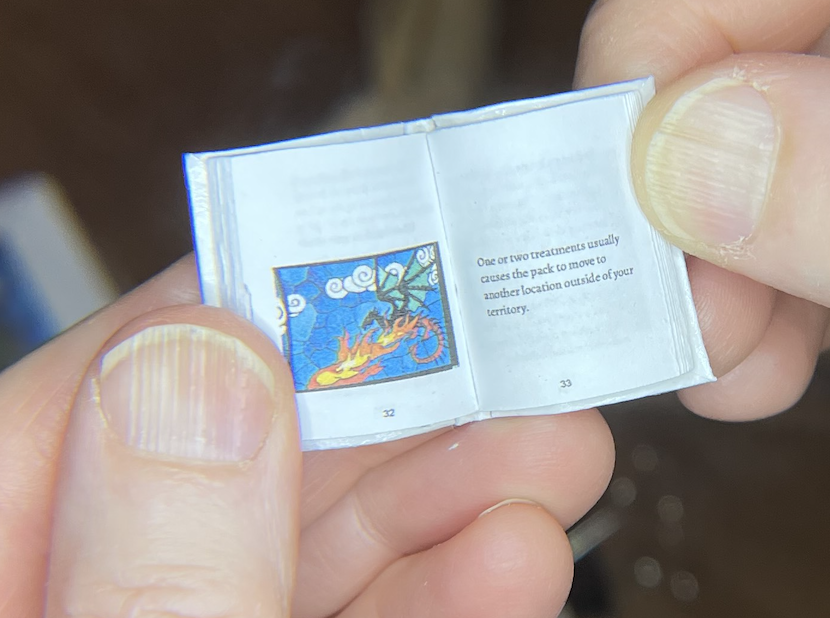
This version is 1″ tall.
You can download the google slide doc with a copy of my book and print it or modify it to make your own book.
You can also use the same template to print a version of the book that is 2″ tall.
In my book I worked with the generative art tool DALL-E to create illustrations that fit well with my text. There are some tips for producing good illustrations below.
The cover can be printed on regular paper and glazed or printed on heavier paper.
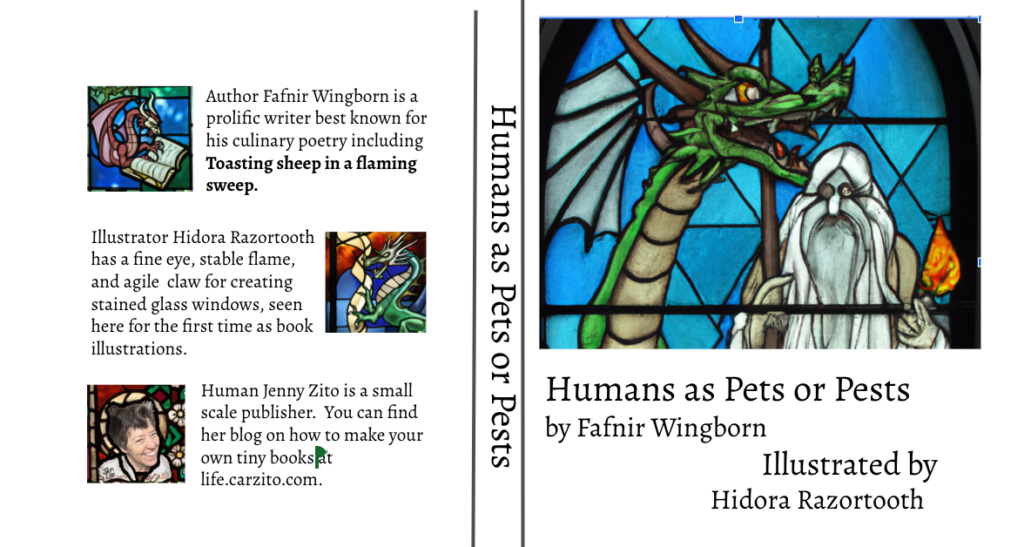
I used Affinity Designer to modify a DALL-E image for my picture for the back cover.
Getting a Template of a Miniature Book (containing example)
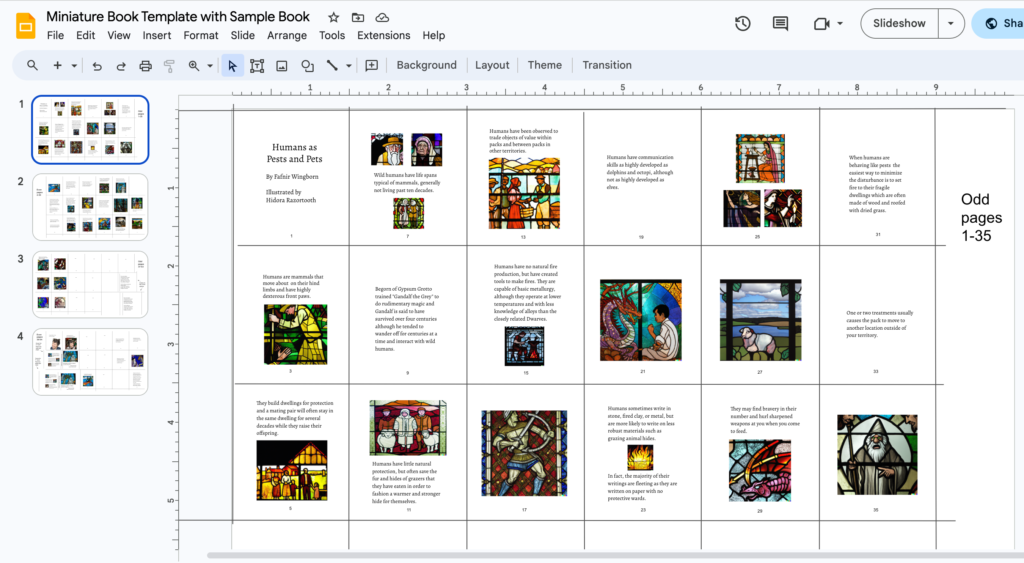
- You can view the google slide document that I used to create the tiny book feature in the blog below by visiting this link Miniature Book Template in Google Slides with sample book
- Feel free to copy the template document and either print a copy of my book or modify the images and text in your copy to make your own book.
Printing your book (Using Safari browser and Preview tool).
In the example below we use the Safari browser to view the miniature book template in google slides. When we press the print icon this launches the Preview tool for printing.
If you use a different browser or printer tool you may need to adjust the margins so that the two slides line up exactly with the front and back of each tiny page lined up.
Instructions for Printing 2″ size miniature book:
- In Safari open the Google Slide Doc with the sample book or your own modified book.
- On the google doc tool bar click on the little printer icon to launch the Preview tool. (There is a delay while this launches.)
- On the right there is a side bar you can change the order of the slides if needed (or you can drag them around in the original google slide doc.
For a 2″ book use the “standard ordering” which is:
– the first slide will have “odd pages 1-35”,
– the second slide will have “even pages 2-36”,
– the third slide will have “odd pages 37-63” and the insides of the cover, and
– the forth slide will have “even pages 38-64” and the outside of the cover. - By going to “File” tab on the Preview top bar you can select “Print”.
In the Print Menu:
- Select a color printer if you have one.
- Click “Two-sided”
- Use the “landscape” orientation.
- Use the Preview pull down to select “Layout”, then set Pages per Sheet: “1” and select Two-Sided: “Short-Edge binding”.
Instructions for Printing 1″ size miniature book:
- In Safari open the Google Slide Doc with the sample book or your own modified book.
- On the google doc tool bar click on the little printer icon to launch the Preview tool. (There is a delay while this launches.)
- On the right side bar you will change the order of the slides from the “standard ordering” by dragging slide 3 to be before slide 2.
When you are done the
– the first slide will have “odd pages 1-35”,
– the second slide will have “odd pages 37-63” and the insides of the cover,
– the third slide will have “even pages 2-36”, and
– the forth slide will have “even pages 38-64” and the outside of the cover. - By going to “File” on the top bar you can select “Print”.
In the Print Menu:
- Select a color printer if you have one.
- Click “Two-sided”
- Use the “landscape” orientation.
- Use the Preview pull down to select “Layout”, then set Pages per Sheet: “2” and select Two-Sided: “Long-Edge binding”.
- you are printing two slides per page of paper to get a 1″ size book then switch slides 2 and 3 before printing, change the layout to have two sheets per page, and use “long edge binding” as a layout option.